When I started to play around with Kubernetes, my goal was to move my websites hosted on my server on the Hetzner. The problem was the cost. It would cost me at least same amount for each website as I pay for the whole server. And if you have a website with very few visits and not aimed to produce income, it wouldn’t really make sense. So this wasn’t the way.
But I discovered Google Cloud Run and I decided to give it a try and move my websites there. So what it is?
It’s a fully managed compute platform for deploying and scaling containerized applications quickly and securely. Allow us to deploy use any language, any library, any binary. All what we need is to deploy a docker image.
It seemed exactly as what I wanted — service for apps/websites running in docker containers, easy to manage and with low cost as it is calculated based on running time. And I’m not even mentioning the 300$ credit ;)
TLDR;
Create a project in GCloud platform, activate Cloud run
Create an image — simple Dockerfile and the code of the website/app
Build and deploy the image with 2 easy commands
Create an Cloud SQL instance and a database, and enable Cloud SQL admin API
Install WP Stateless plugin, which will take care of storing images in your Google Cloud storage bucket.
You can find the source code of it here:
peterkracik/wp-gcloud-run
Setup to run Wordpress on Google Cloud Run. Contribute to peterkracik/wp-gcloud-run development by creating an account…github.com
Create a project
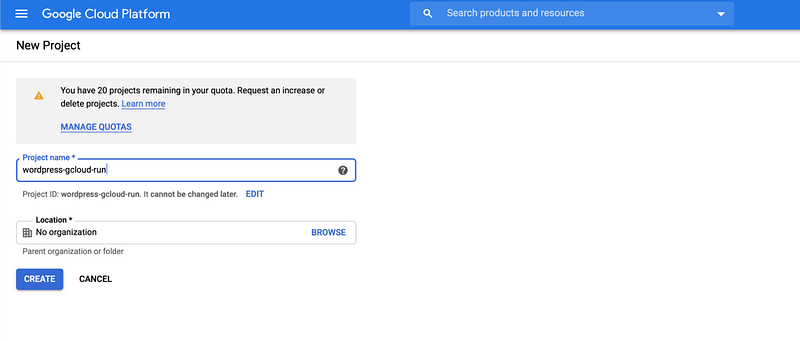
You need to have a Google Cloud project, so open the Cloud console and create one.
2. Then go Cloud Run and activate the Api. Which will also require creating a billing account.
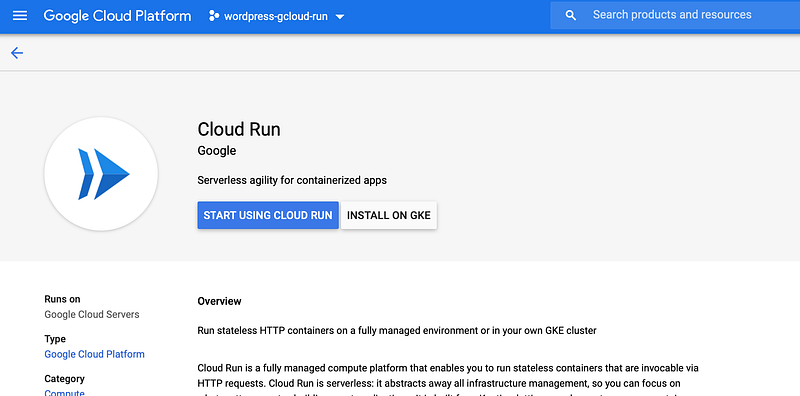
Enable Cloud run
Preparing the app Image
To be able to run a website in Cloud run, it must be containerised — the whole Wordpress as well as your theme folder have to be included within the docker image.
The Whole project has only two parts:
Folder app
Contains the basic Wordpress installation with 2 small changes:
As Cloud run runs by default on https, I needed to configure it in the wp-config.php by adding this and the end:
/**
 * configure HTTPS
 */
define('FORCE_SSL_ADMIN', true);
define('WP_HOME', 'https://' . $_SERVER['HTTP_HOST']);
$_SERVER['HTTPS'] = 'on';
$_SERVER['SERVER_PORT'] = 443;
And modifying the default WP database variables to use environment variables instead of hard-coded values:
define('DB_NAME', getenv('DB_NAME'));
define('DB_USER', getenv('DB_USER'));
define('DB_PASSWORD', getenv('DB_PASSWORD'));
define('DB_HOST', getenv('DB_HOST'));
Dockerfile
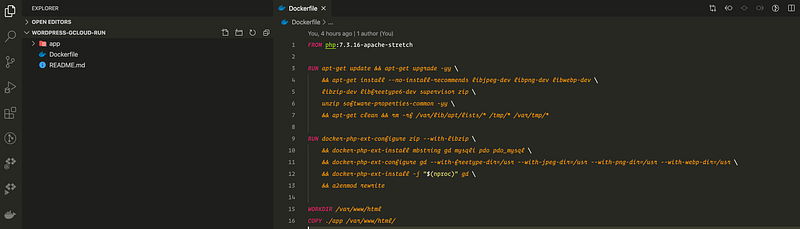
Which serves to build my image. It is based on the official PHP 7.3 with Apache and adds necessary packages for images (GD library) and for Mysql and enabling rewrite mode in Apache.
And at the end I copy the App folder to the apache host home directory in my image.
Build and Deploy
Inside your terminal switch to the project folder and set your Gcloud project (wordpress-gcloud-run in my case) by running:
gcloud config set project wordpress-gcloud-runThen, we can build the image (image name contains project name and the tag you wish, app in this case):
gcloud builds submit --tag gcr.io/wordpress-gcloud-run/appIt takes some time, and then we can deploy it to the Cloud run by:
gcloud run deploy wordpress --region europe-west1 --platform managed --image gcr.io/wordpress-gcloud-run/app --port 80During the very first deployment, it will ask if we want to allow unauthenticated invocations — which will basically make the instance public or accessible with permissions.
And now, when we check in the Gcloud, we’ll see our instance running
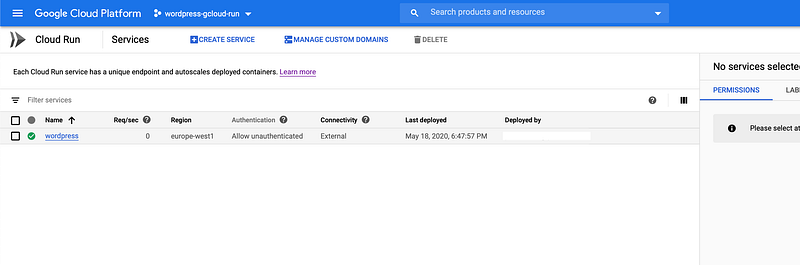
Our instance is running
If we click now on the instance, we’ll se more details and also the public link, which should show you this screen
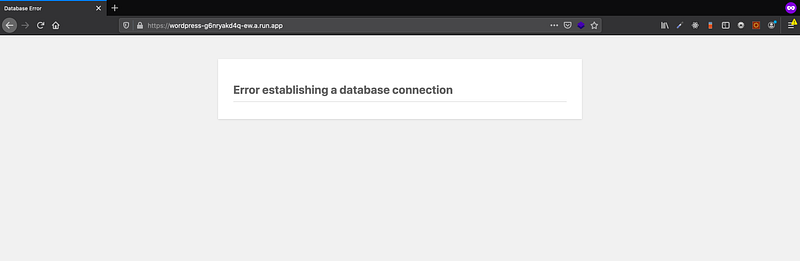
Our wordpress work
Our Wordpress website works well. If it was a static website without any persistent data, we would be done.
Setting up SQL server
Obviously we could use any (Mysql) server with public access, but in this case I decided to stay with Google Cloud and their DaaS Cloud Sql.
how to create a database instance:
In the menu we go to SQL,click on Create SQL instance and select Mysql and we configure our instance. The smallest machine will be more than enough for our purpose.
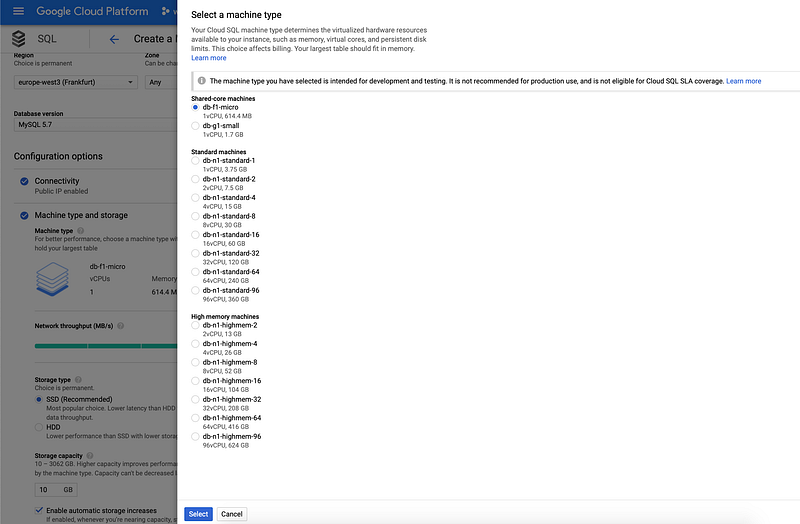
2. Then we need to create a database for the website. When we open the database instance, in the configuration navigation, we have an option databases, where we can create a new database.
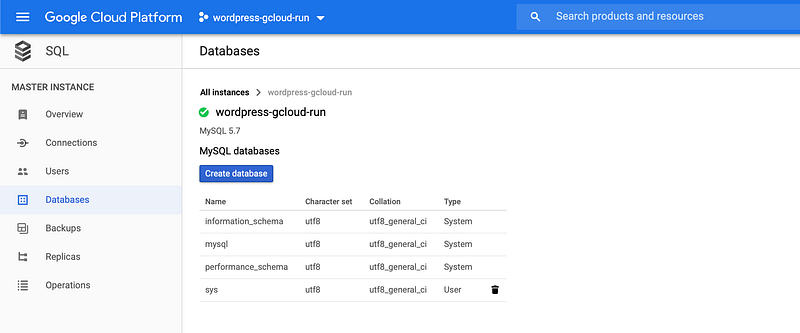
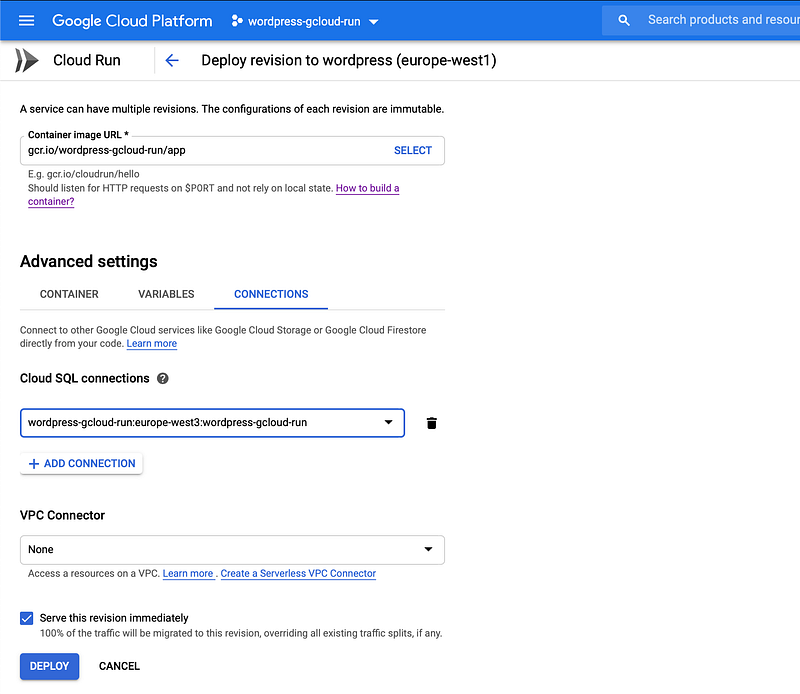
3. And now we can configure the Wordpress settings. Let’s get back to our Cloud run instance and click on edit & deploy new revions. Inside the Connections tab, we select our SQL database connections
4. Inside the Variables tab, we can add environment variables, which we’ll use for the database connection — DB_USER, DB_PASSWORD, DB_NAME based on what we chose.
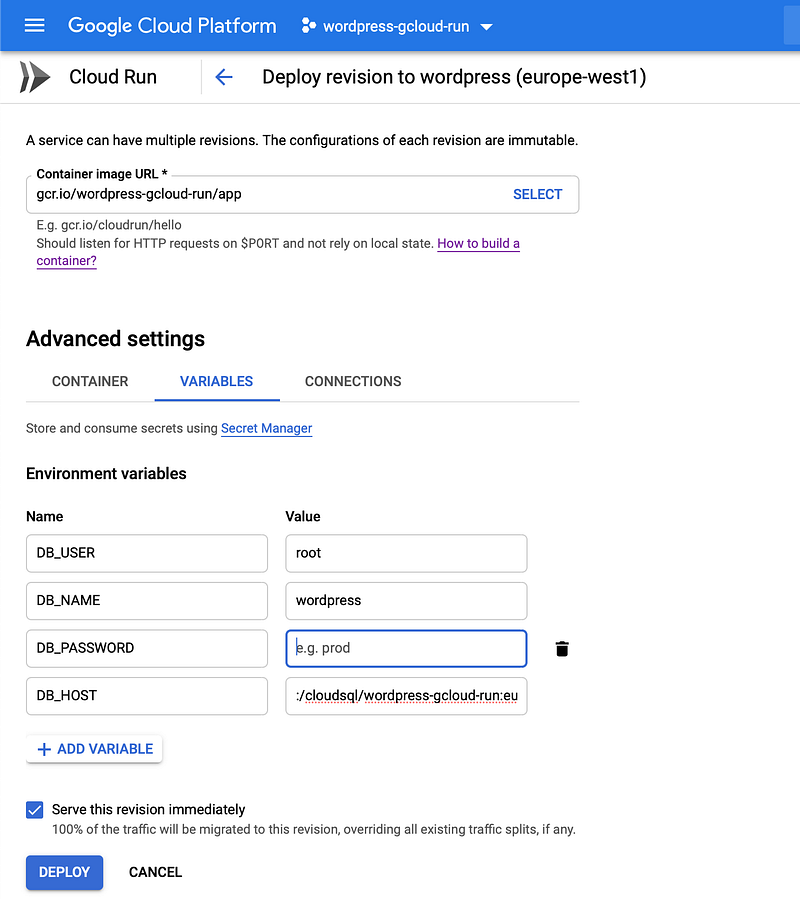
As a DB_HOST we enter it in the format:
:/cloudsql/instance-connection-nameThe instance connection name can be found in the detail of our mysql instance.
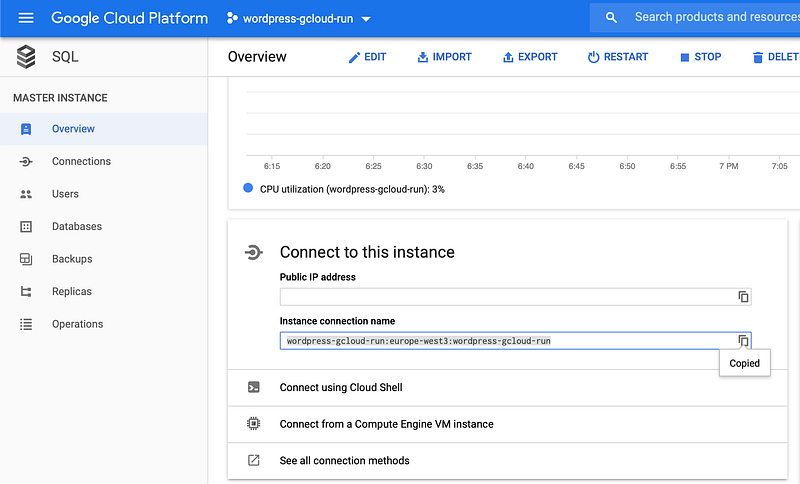
Getting the instance connection name
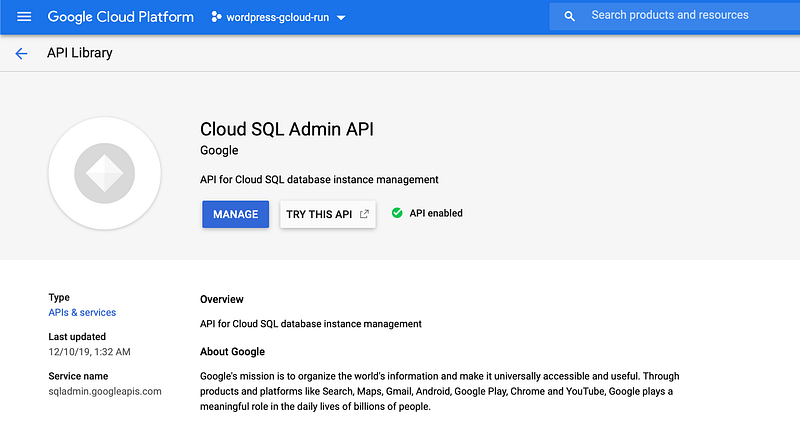
5. And one last thing — we need to enable Cloud SQL admin API, which can be found in API library.
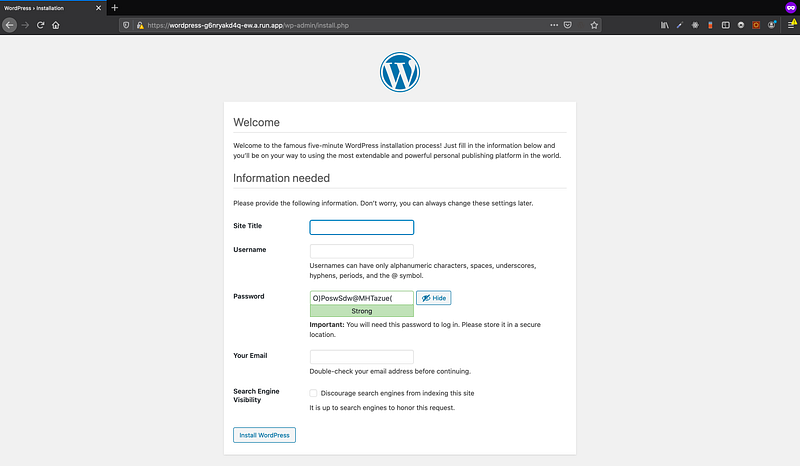
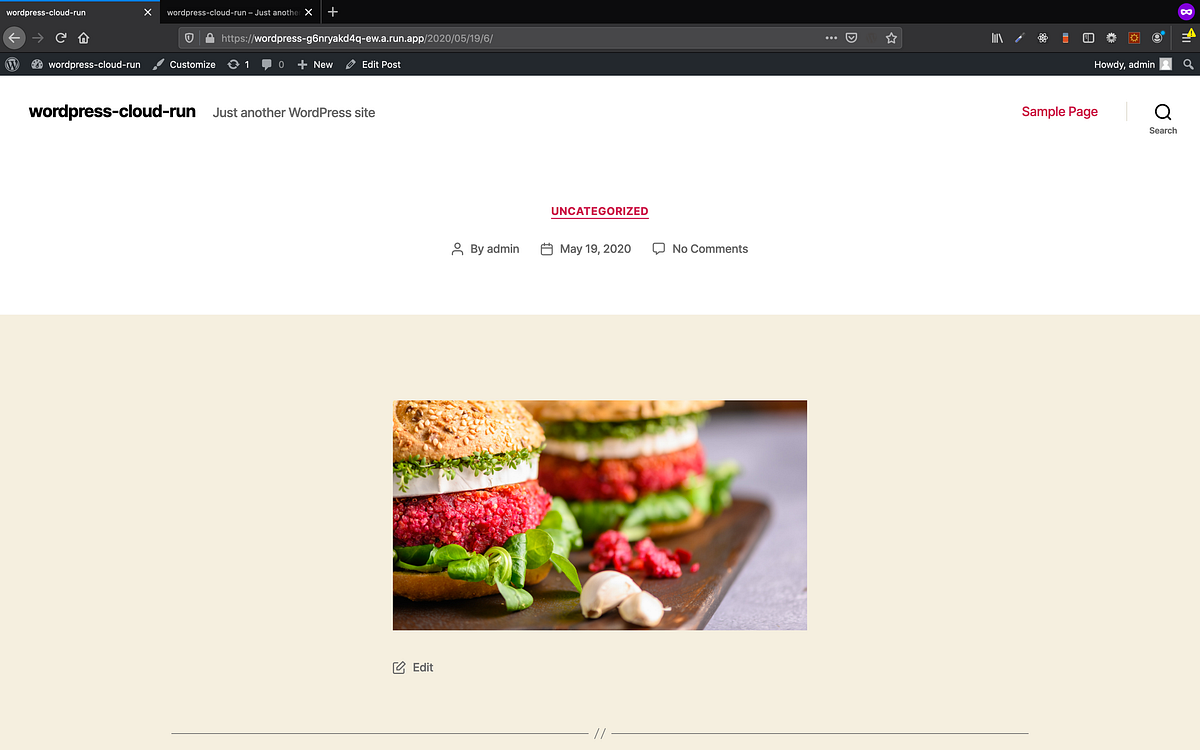
Now, our website should be able to connect to the database, and if we go back to Cloud Run instance and open it, we should see well-known screen
Storage
Storage is the last part we need to configure, as our website is stateless, we would loose all our uploaded images after each deployment.
The easiest way is to use Google Cloud storage and most important — to use the plugin WP Stateless.
WP-Stateless - Google Cloud Storage
Upload and serve your WordPress media from Google Cloud Storage (GCS) with the WP-Stateless plugin. In as little as two…wordpress.org
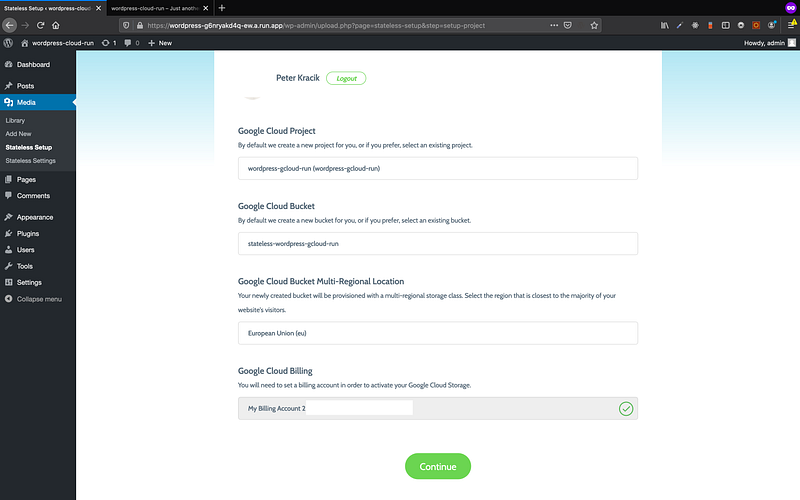
This plugin will store all your uploads inside the storage bucket instead of locally in the container. It will also take care of the whole configuration, you neither need to create a storage bucket, nor service account. We just need to activate the plugin and do the configuration.
But first we need to add the plugin — we can’t do it in our running website, because this as well, we would loose it with the next deployment. We need add the plugin (or any other plugin/theme) to the plugin directory in the source code and re-deploy it. Probably we need also create an empty folder in the app/wp-content/upload.
The configuration is really easy:
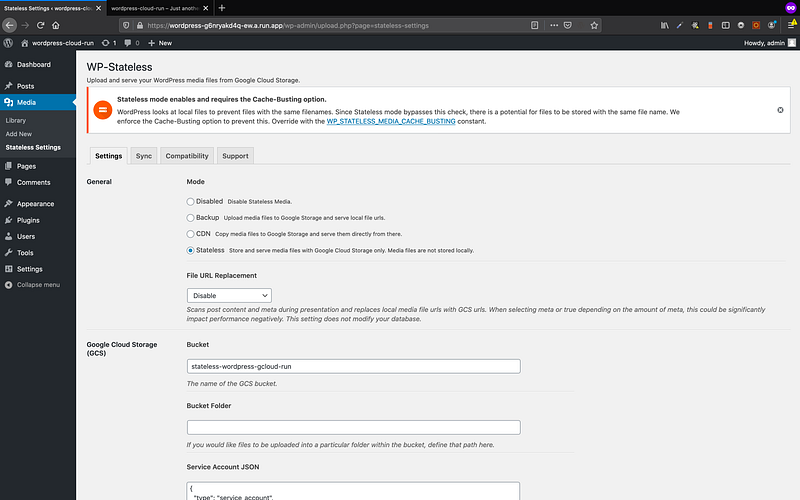
And this is all, now our Wordpress website run with persistant database and storage as well. But of course would nice to change the url to your domain, which can be easily done in settings of your Cloud Run instance.
Cost
The whole cost is calculated based on:
running time of our cloud run instance — https://cloud.google.com/run/pricing
the build time, which has free tier 120 minutes per day, so I would be surprised if we exceed it with a project of this size
storage bucket — $0.026 per GB per month (includes container registry storage)
SQL — the machine of our choice (the lowest one) — $7.67 per month
Based on this information, it is really hard to estimate the cost, so here is the what I pay:
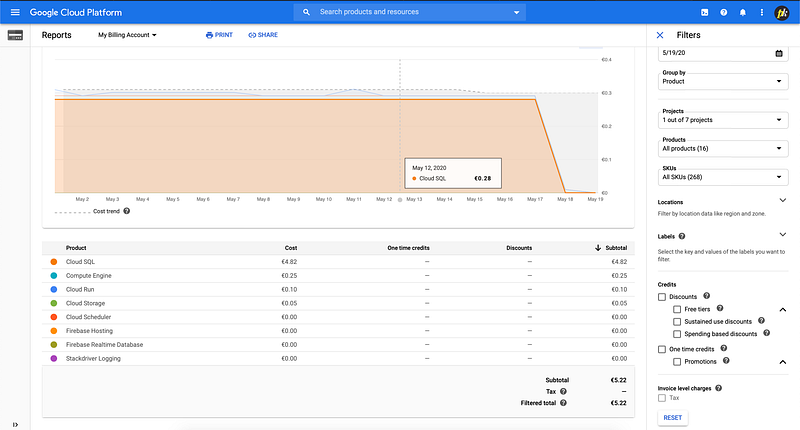
Cloud run is basically free in my case — in total of 0.10€ this month, but keep it mind that it depends on number of visits.
The Highest price is the Sql server — 0.28€ per day, however, I could use this same instance for multiple websites of this size, I don’t need an instance per web.